
The Key to Getting Ahead Is Getting Started

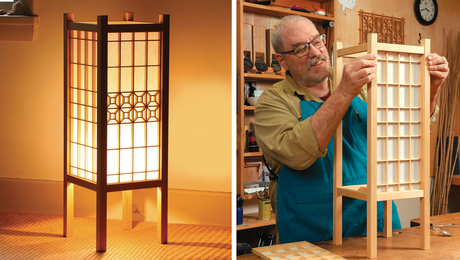
Recently I was working on a new lamp design in the shop. I had my initial sketches, but as my ambition kicked in, there were so many directions I could go that it quickly became paralyzing. And then I realized something: My background in tech was about to give me just what the situation needed.

In the tech world, you don’t “umm” and “ahh” over every detail before you get started. That’s a great way to go out of business. By the time you’ve finished building the perfect product, others have beaten you to it. The alternative is a way of working with surprising transferability to woodworking: the mentality of prototyping and iterating. You break the destination down into the smallest parts, determine the minimum viable product (MVP), and go build a first version. You accept that it’ll be version 0.1. That’s okay. You release it, get feedback, and iterate your way forward.
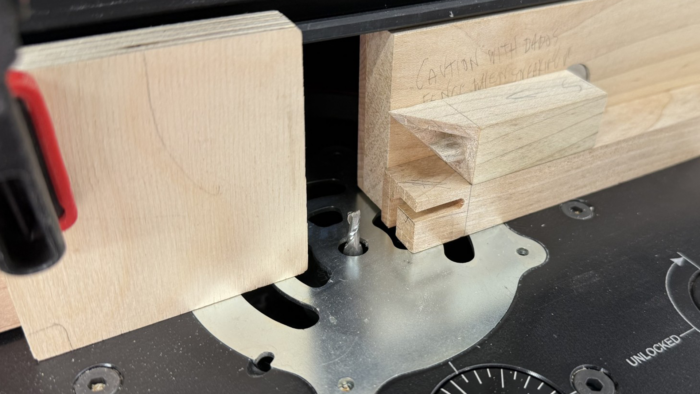
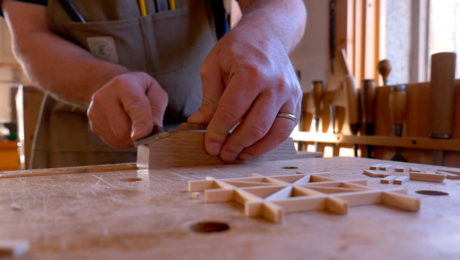
So how does this translate to the shop? Coming back to the lamp, I started by breaking the idea into small components to identify where the friction was. Core to my vision was replacing a mortise-and-tenon with something more elegant, like three-way miters. But I hadn’t tried them before and didn’t know if I could execute them, or whether they’d work visually. There was my clue: the first piece of the puzzle to go solve. So I made some test joints. Okay, okay, making a test joint isn’t revolutionary. But the sequential process this mindset led me down is worth looking at.
Shifting my mentality turned something anxiety-inducing into something playful. Stress kills creativity. Remove the stress, and not only does the journey get more fun, but new ideas surface. I ended up trying a three-way miter with a through-tenon, and a double through-tenon to see how they looked. I tested both joints with an Instagram poll and a handful of close friends whose eye I trust. Suddenly I had data to inform the next phase, just like in tech. Three-way miters it was.

If you want to try three-way miters, here are few guides:
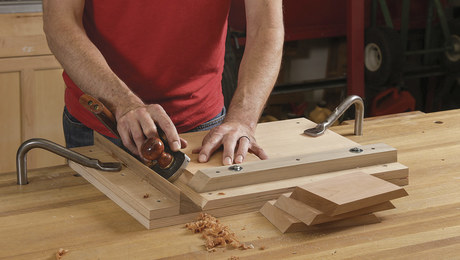
But this joint can be very time consuming, and doing eight would be a huge lift. That became my next problem to solve. I worked out how to optimize the production process using a router table to reduce the chisel-intensive parts. The test worked. One discovery led to another, then another, and then a scale model with MDF to dial in the proportions. The process became didactic, where a perfect balance of challenge and skill makes one step lead to another, and you enter a state of flow.
It all started with identifying the smallest possible step forward and charting that path. This was tremendously clarifying and confidence-building. By the time I moved into the actual build, the open questions had already been answered.
So next time you’re in the shop, feeling stuck on an ambitious project, think about the questions holding you back and how you can break them down into steps that answer them one by one. You’ll be amazed at the momentum you generate. And the insights may mean your end product looks remarkably different from what you originally thought you were going to build.
How to build an andon lamp
The Quiet Art of Kumiko
A Shooting Board for Case Miters
Fine Woodworking Recommended Products
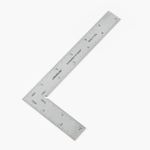
Veritas Precision Square
This precision square is incredibly versatile, from checking squareness to dialing in machine setups.
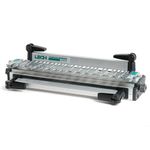
Leigh Super 18 Jig
This jig is a value-oriented alternative to the Leigh D4R, but its template system is just as excellent.
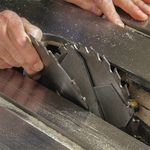
Freud Super Dado Saw Blade Set 8″ x 5/8″ Bore
Leaves a dado with a flat bottom and even performs excellent on plywood and melamine.
Sign up for eletters today and get the latest techniques and how-to from Fine Woodworking, plus special offers.


