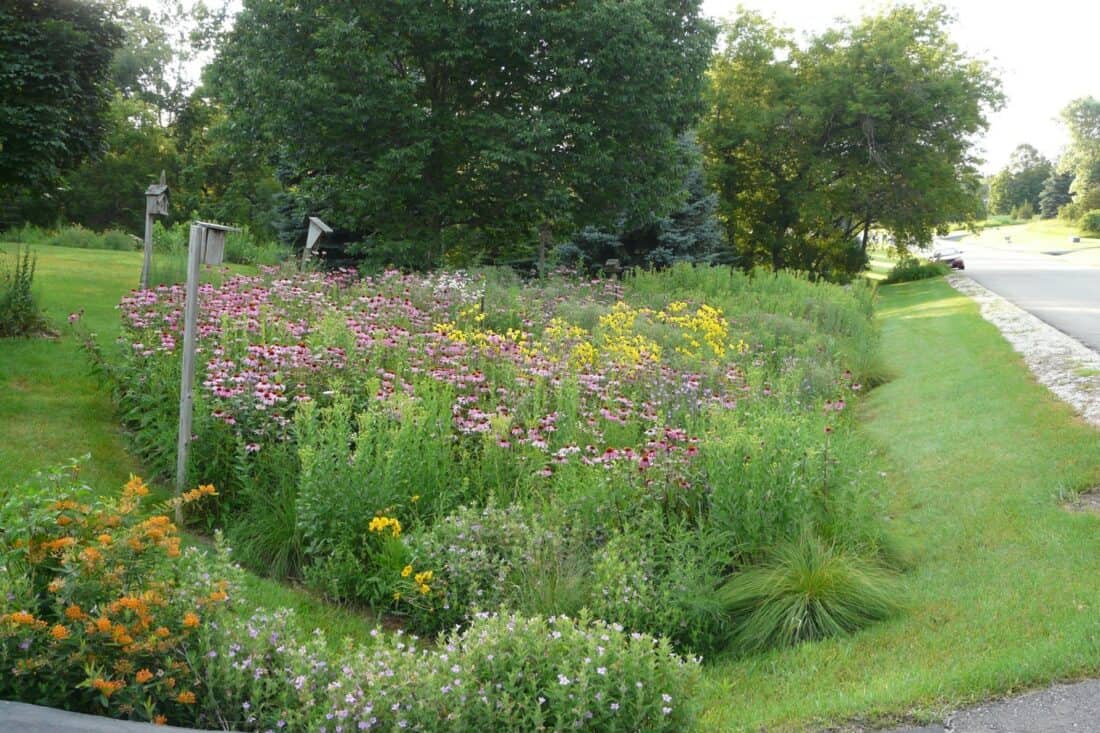
What Is a Rain Garden? A rain garden is like a natural in-ground sponge—an intentional, low-maintenance planting designed to manage rainwater runoff. The idea is to retain as much water as possible – surface water goes in – and much less of it comes out.
It is usually created with a shallow depression, strategically placed in a landscape to collect water from roofs, driveways, or other hard surfaces. Think of it as a beautiful, functional oasis that helps water slow down, soak in, and filter out before it can cause flooding or pick up pollutants on its way to storm drains.
But here’s the kicker: rain gardens aren’t just workhorses; they’re gorgeous, too. They’re typically planted with deep-rooted native plants and grasses that thrive in both wet and dry conditions. These plants not only look stunning, but they also support local wildlife, like pollinators and birds, turning your yard into a tiny ecosystem.
Whether you’re dealing with soggy spots or lots of mud in your lawn or just looking to make your landscape more climate-resilient, a rain garden is a win-win. It helps keep water where it belongs, reduces strain on stormwater systems, and lets you garden with a purpose (one that is helping the climate). It’s the gardening version of killing two birds with one stone—only here, the birds are safe and might even stop by for a visit.
The Four Steps of Rain Garden Creation:
1. Excavate and shape the basin.
2. Lay out your plants.
3. Plant
4. Mulch
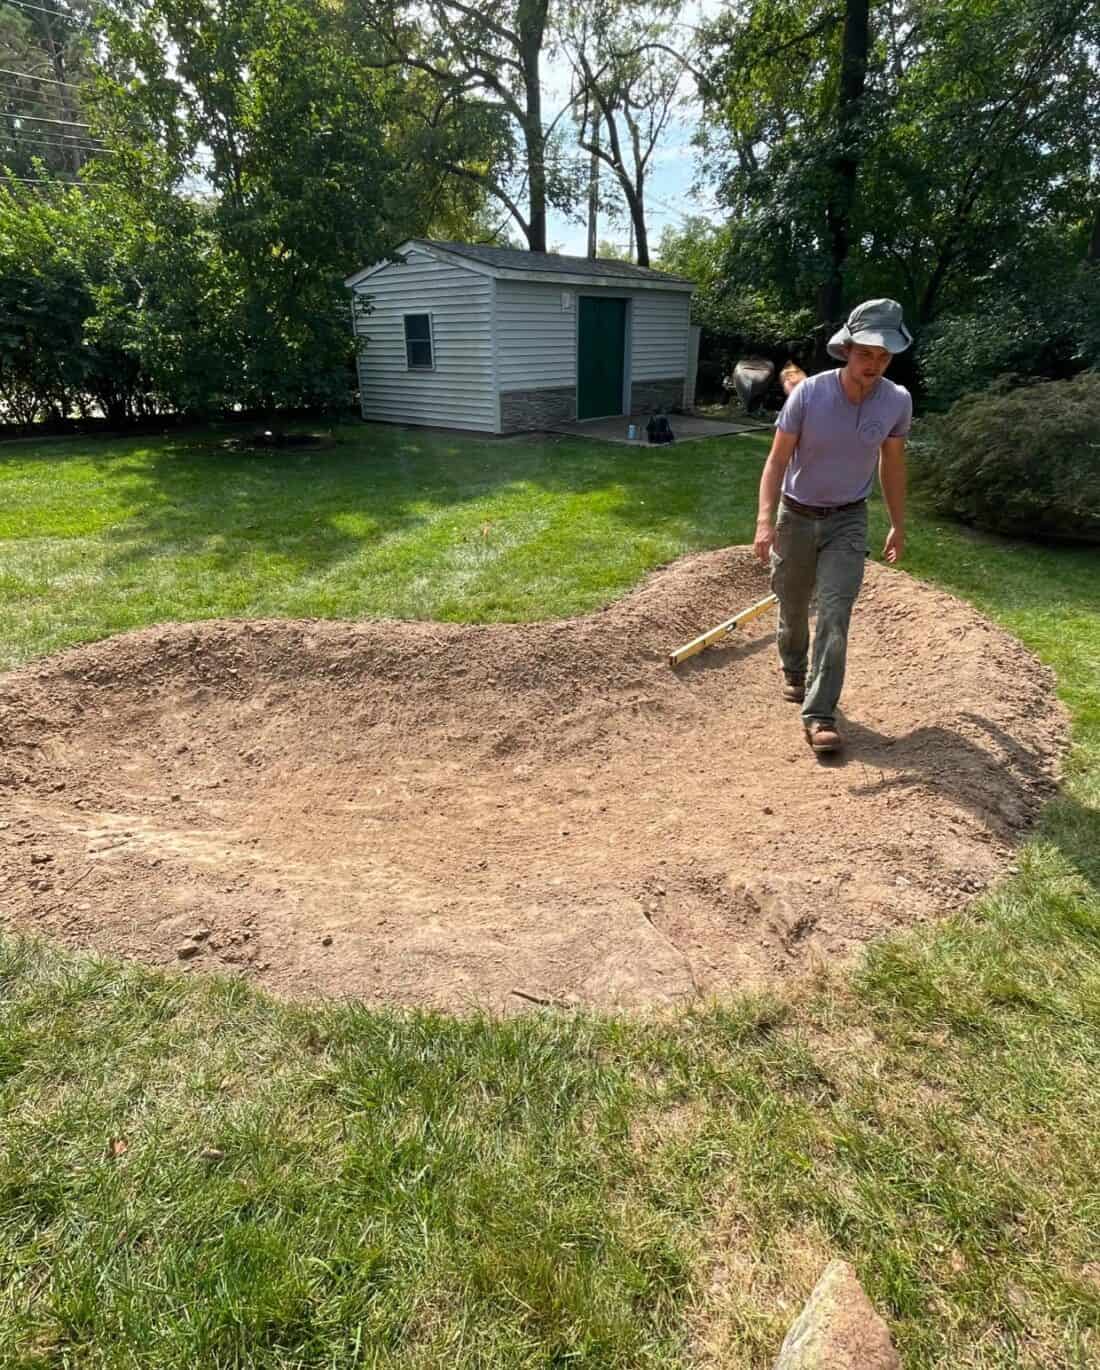
1. Excavate and Shape the Basin
Start by digging out a shallow depression in your chosen rain garden spot—usually about 6–12 inches deep, depending on how much runoff you’re dealing with. Make the bottom level, and gently slope the sides so it looks natural and blends into the surrounding landscape. Remember, you’re creating a spot where water can linger just long enough to soak in, but not so long that it turns into a swampy mess. Add a berm (a low mound of soil) on the downslope edge to help hold the water in, and make sure to direct runoff into the garden using channels or pipes as needed. This is the foundation of your rain garden, so take the time to get the shape right.
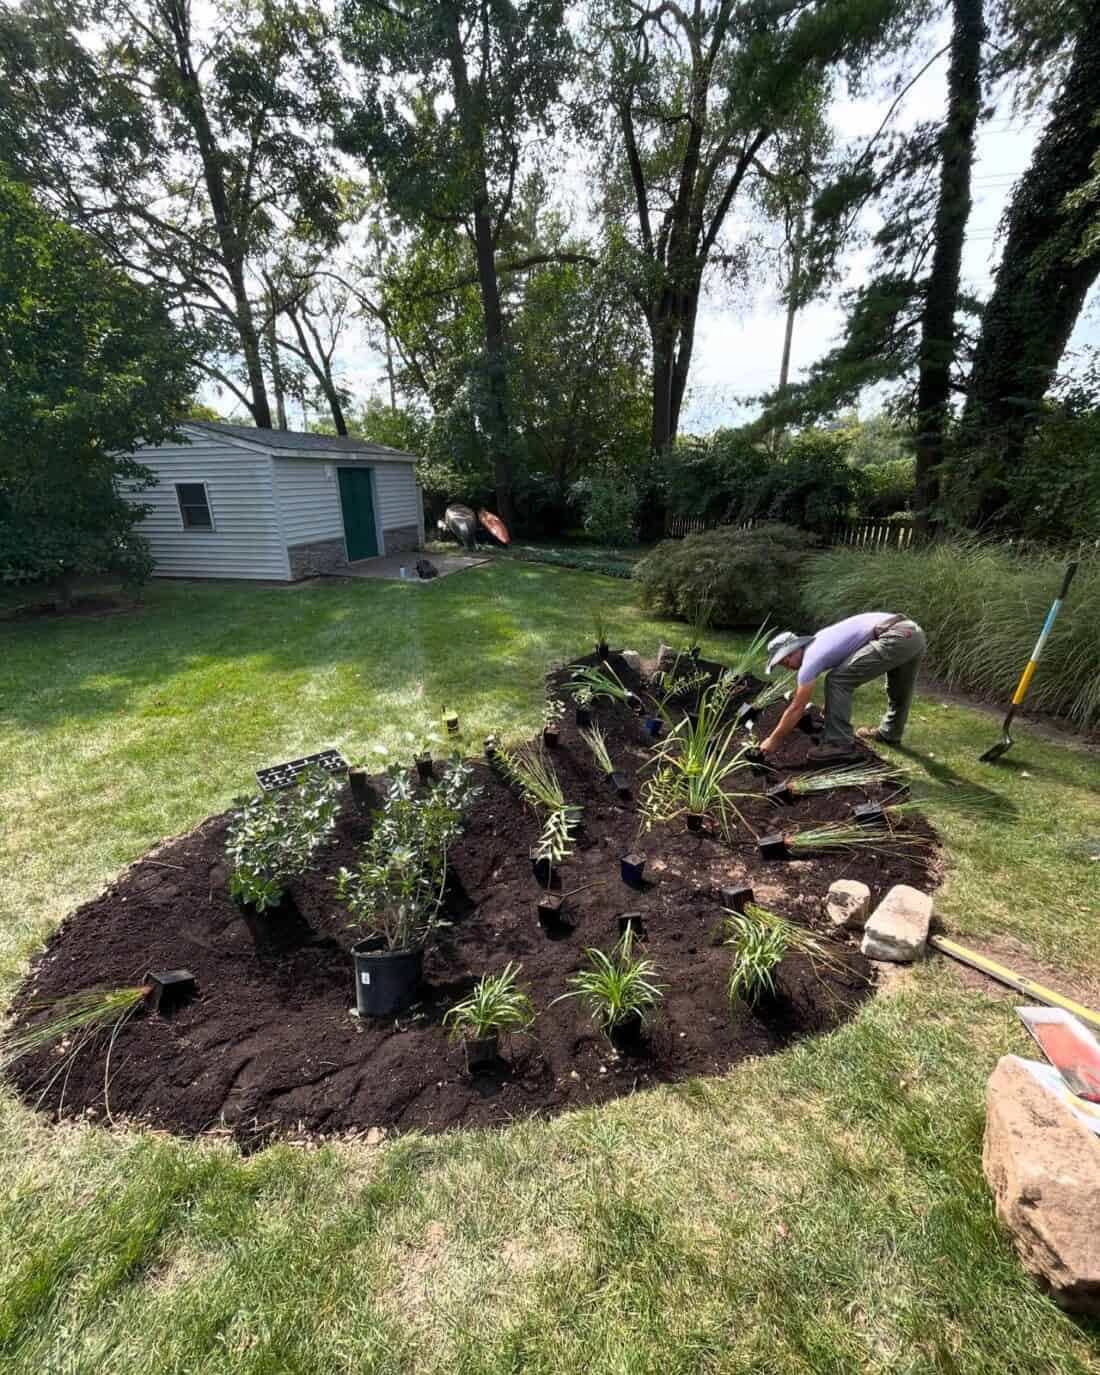
2. Lay Out Your Plants
With your basin ready, it’s time for the fun part—choosing and arranging your plants. Use a mix of natives that thrive in wet-to-dry conditions, placing the more water-loving species in the lowest spots and drought-tolerant ones on the edges. Think Echinacea and Rudbeckia for pops of color, or Carex and Juncus for texture. Aim for a layered, natural look that mimics how plants grow in the wild, and leave enough space for them to spread out over time. Before you start planting, set everything out on the soil to play around with placement until it feels just right.
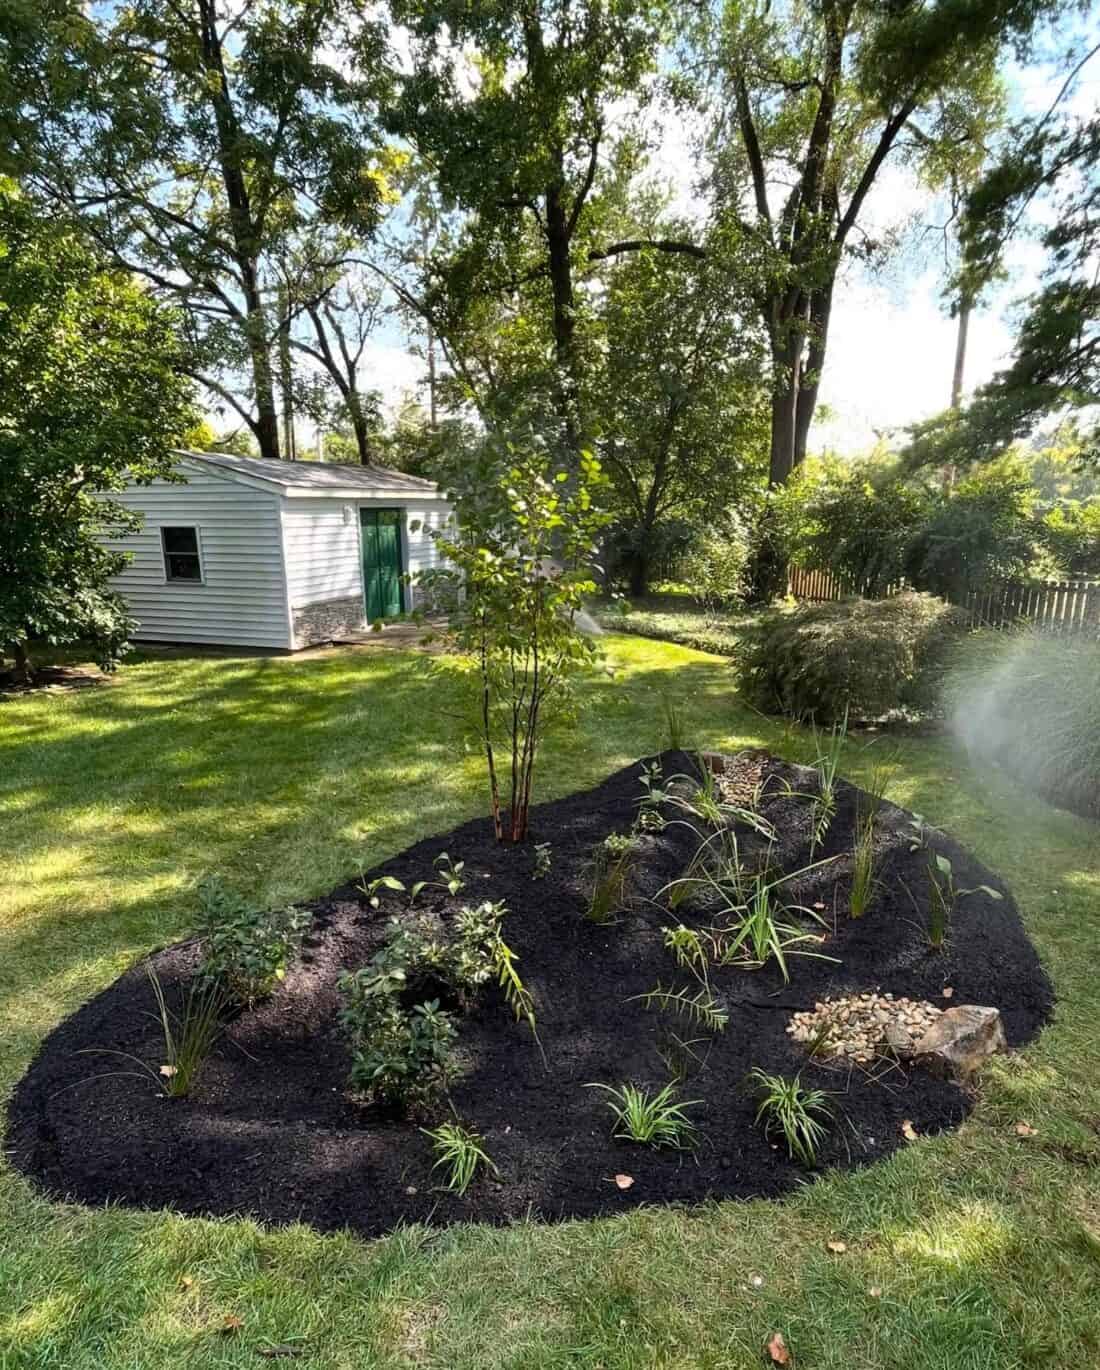
3. Plant
Once you’re happy with your layout, grab your trowel and get to work. Dig holes about twice the width of the plant’s root ball, and make sure each plant sits at the same level it was in its pot. Loosen up the roots if they’re a bit compacted before settling the plant into its new home. Backfill with soil, gently pressing down to eliminate air pockets, but don’t pack it too tightly—you want those roots to breathe and grow. Water each plant thoroughly as you go to help them settle in and get a strong start.
4. Mulch
To finish things off, spread a layer of mulch—2–3 inches thick—across the entire garden. Mulch helps the soil retain moisture, keeps weeds at bay, and adds a polished look to your rain garden. Use something chunky and organic, like shredded bark or wood chips, so it doesn’t float away in heavy rains. You can also consider using pebbles or river rock as mulch – this might look more appropriate in your landscape (remember the genius loci of your area). Keep the mulch material (whatever it is) a couple of inches away from the base of your plants to prevent rot. If you have planted well, you should not have to keep topping up the mulch year after year. Having to add bark mulch annually is a sign that you need to plant more densely. Your plants should fill in and make the mulch unneeded over time.
Select appropriate Rain Garden plants
When choosing rain garden plants – focus on the basics. You need to select plants that are typically able to tolerate both periods of excess moisture and drought. These plants will thrive in excessive moisture, prevent erosion, and attract pollinators, but they will also live when things inevitably dry out.
Remember to consider your specific climate and soil conditions when selecting plants for your rain garden.
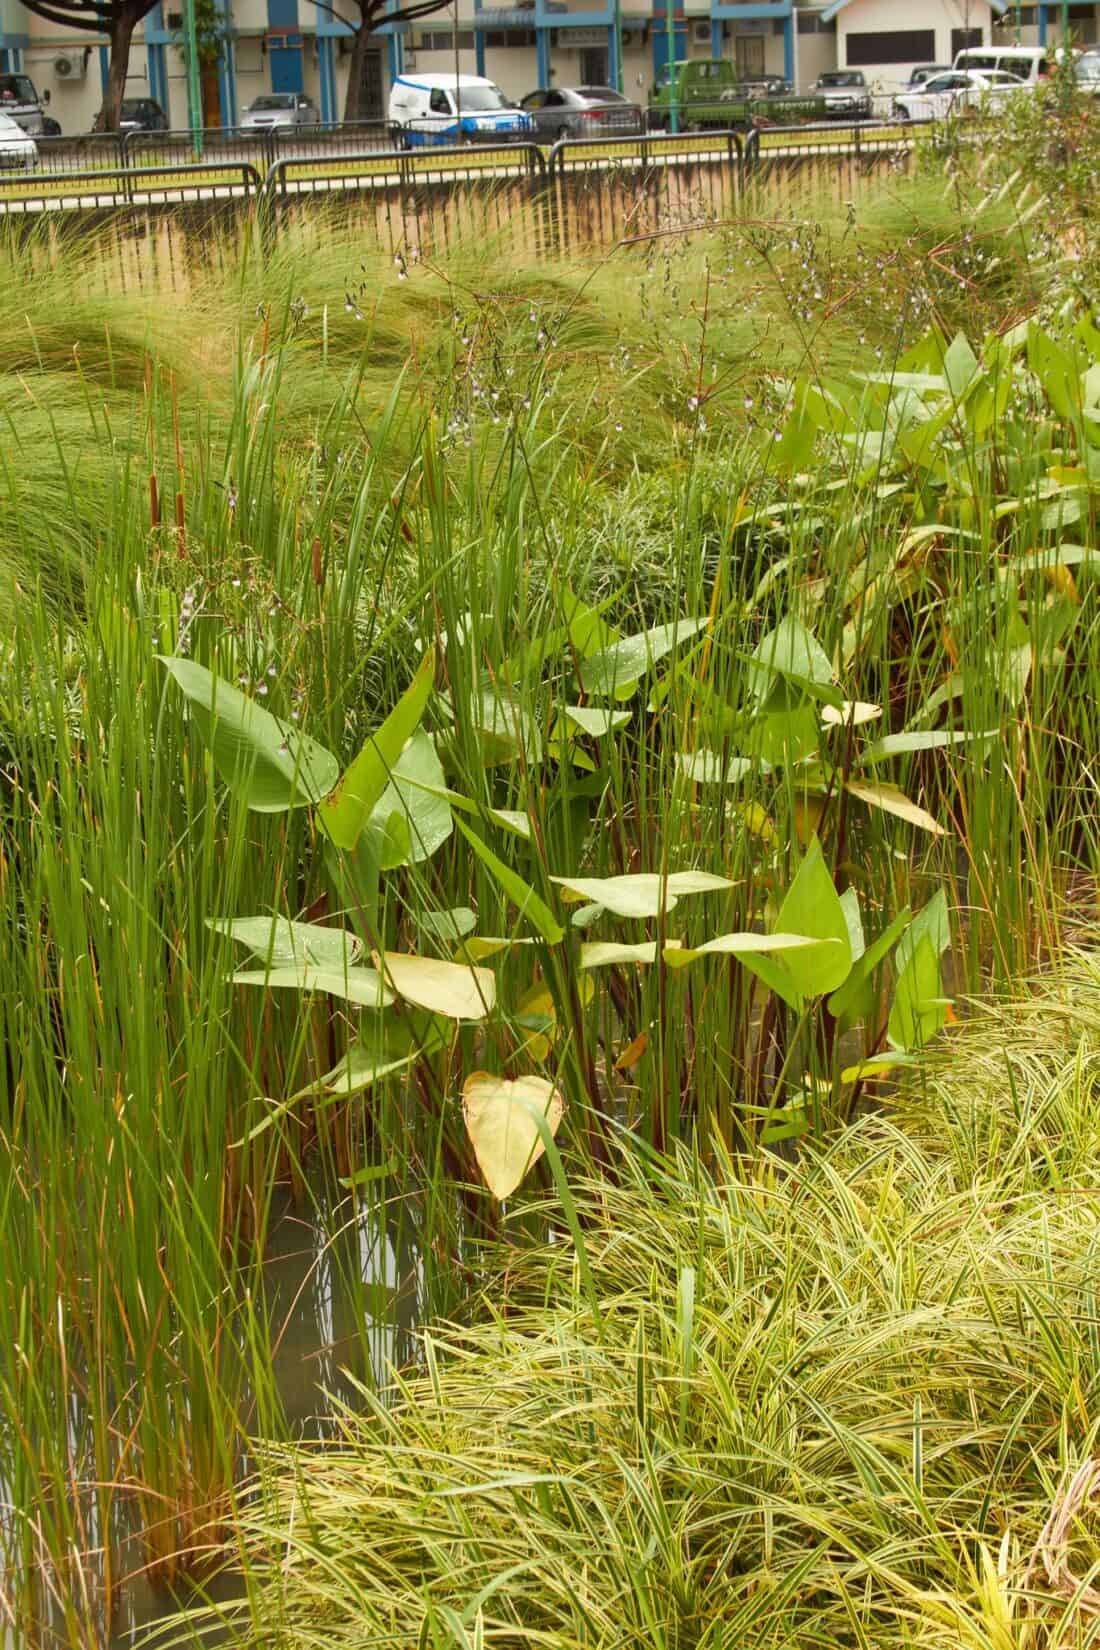
An urban rain garden filled with water by Roger Soh.
Common rain garden plants for North American Gardeners
- Cardinal Flower (Lobelia cardinalis)
- Blue Flag Iris (Iris versicolor)
- Joe Pye Weed (Eutrochium purpureum)
- Swamp Milkweed (Asclepias incarnata)
- Blue Vervain (Verbena hastata)
- Switchgrass (Panicum virgatum)
- Ostrich Fern (Matteuccia struthiopteris)
- Black-eyed Susan (Rudbeckia hirta)
- Turtlehead (Chelone spp.)
- New England Aster (Symphyotrichum novae-angliae)
- Buttonbush (Cephalanthus occidentalis)
- Marsh Marigold (Caltha palustris)
- Liatris (Liatris spp.)
- Culver’s Root (Veronicastrum virginicum)
- Blue Lobelia (Lobelia siphilitica)
If you have a favorite rain garden plant that has worked well for you – leave it in the comments along with your location so others can see some additional suggestions.
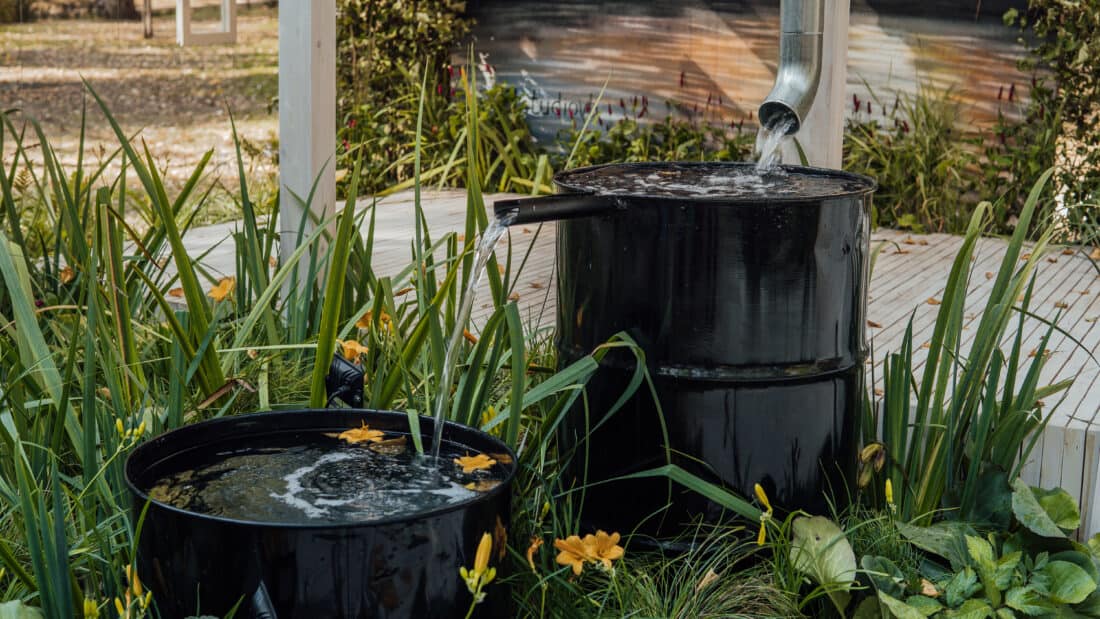
This natural (and beautiful) runoff solution captures 30-40% more water than a traditional grass lawn and helps prevent urban pollutants from entering our waterways.
