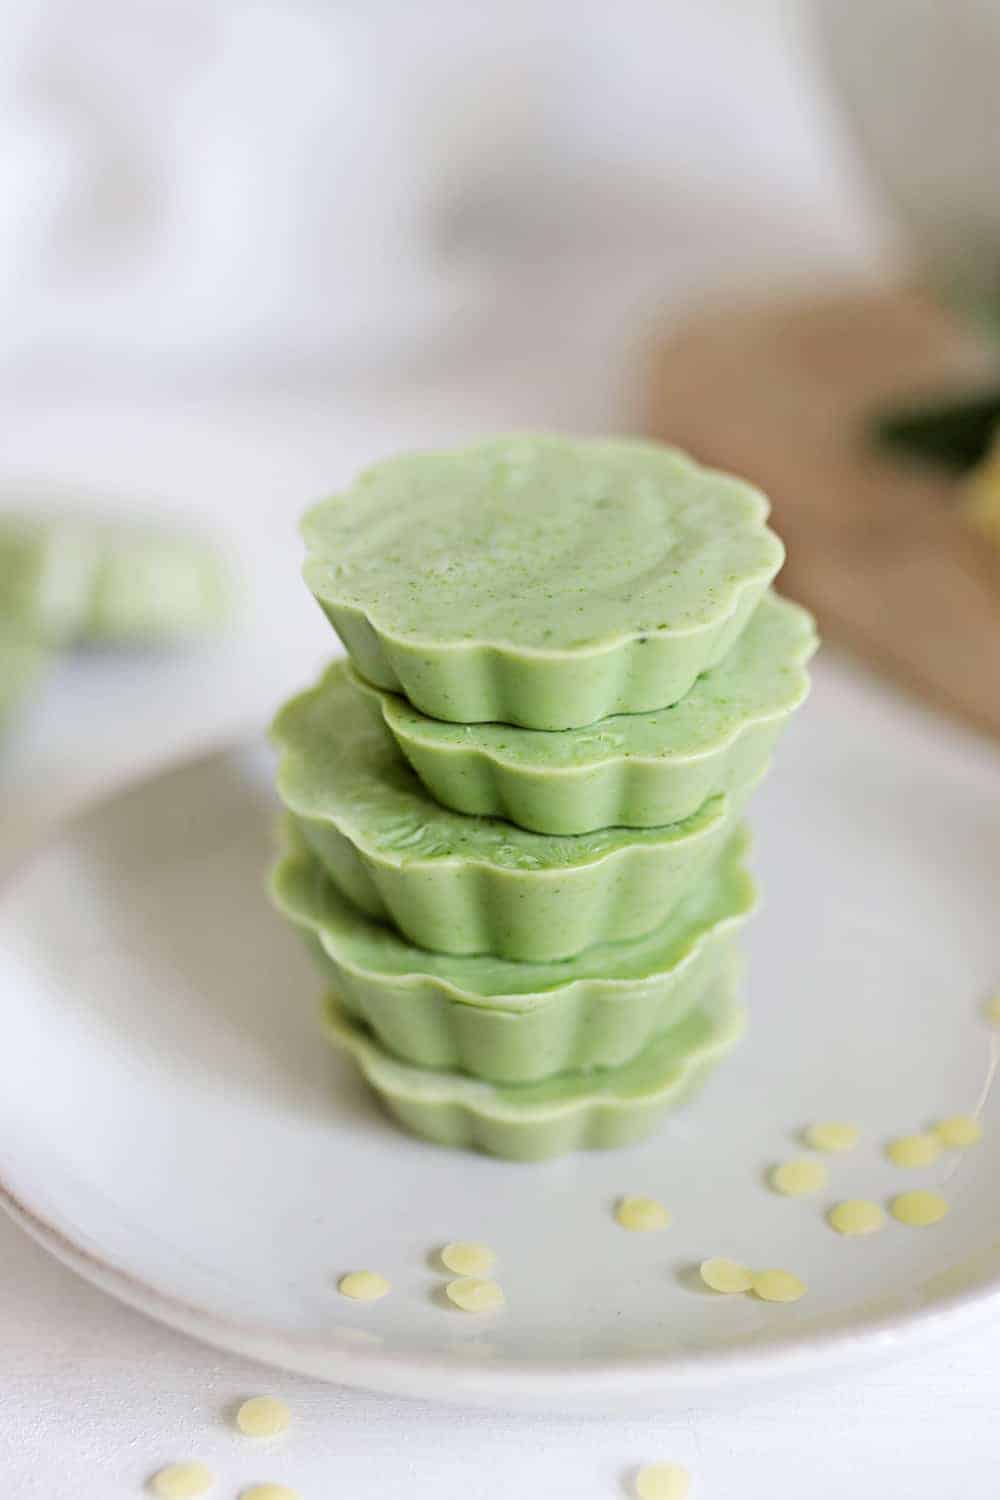
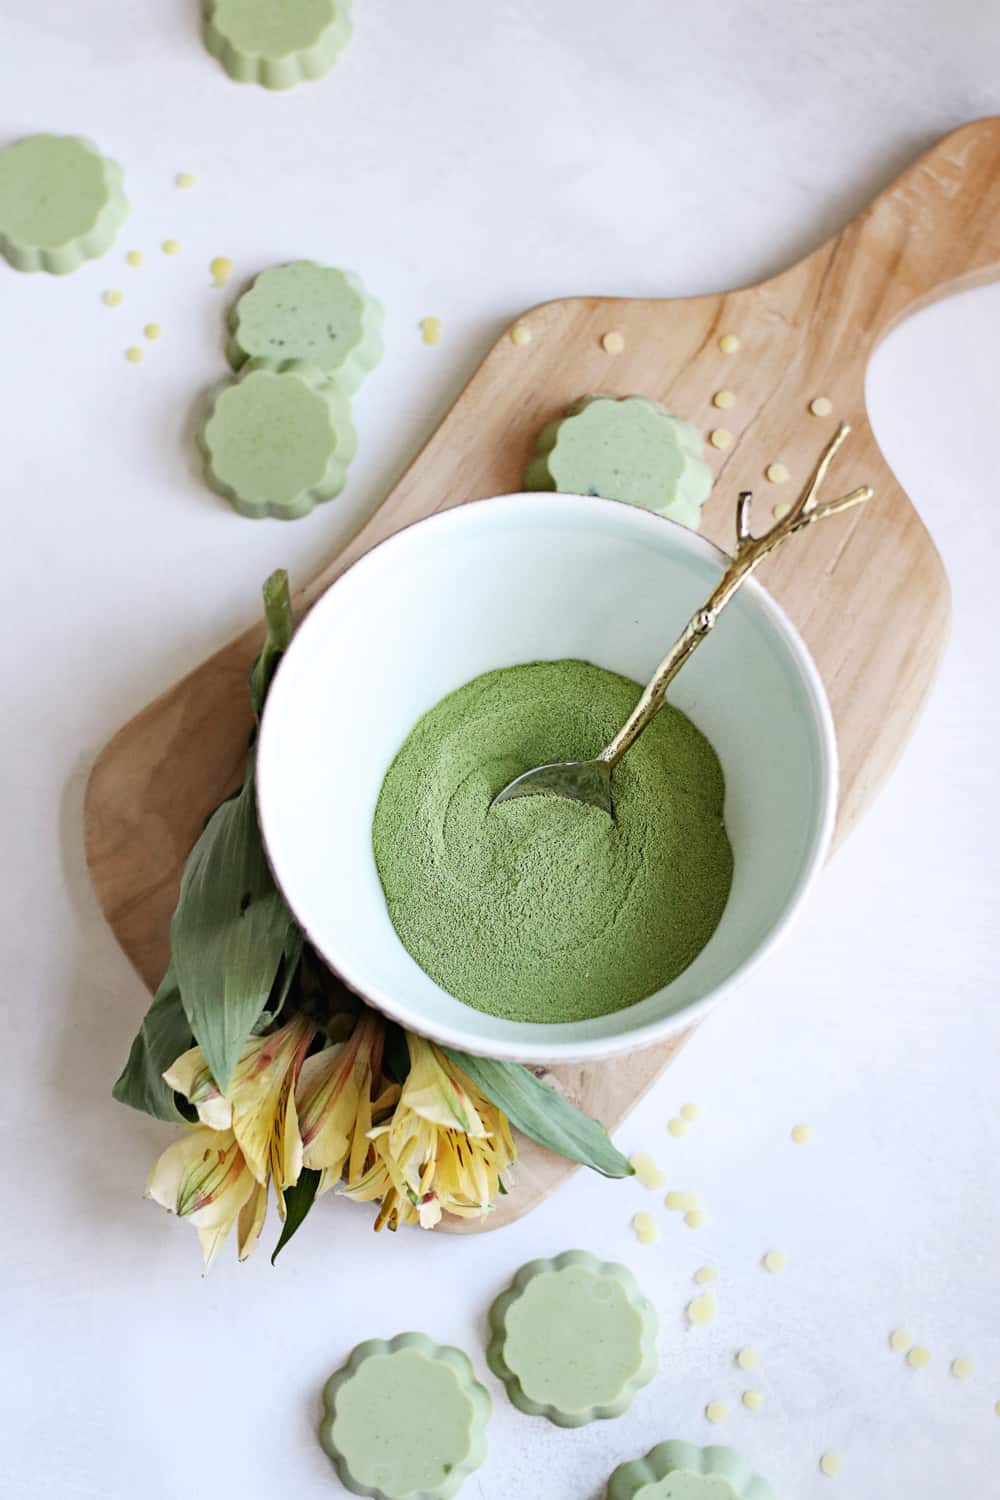
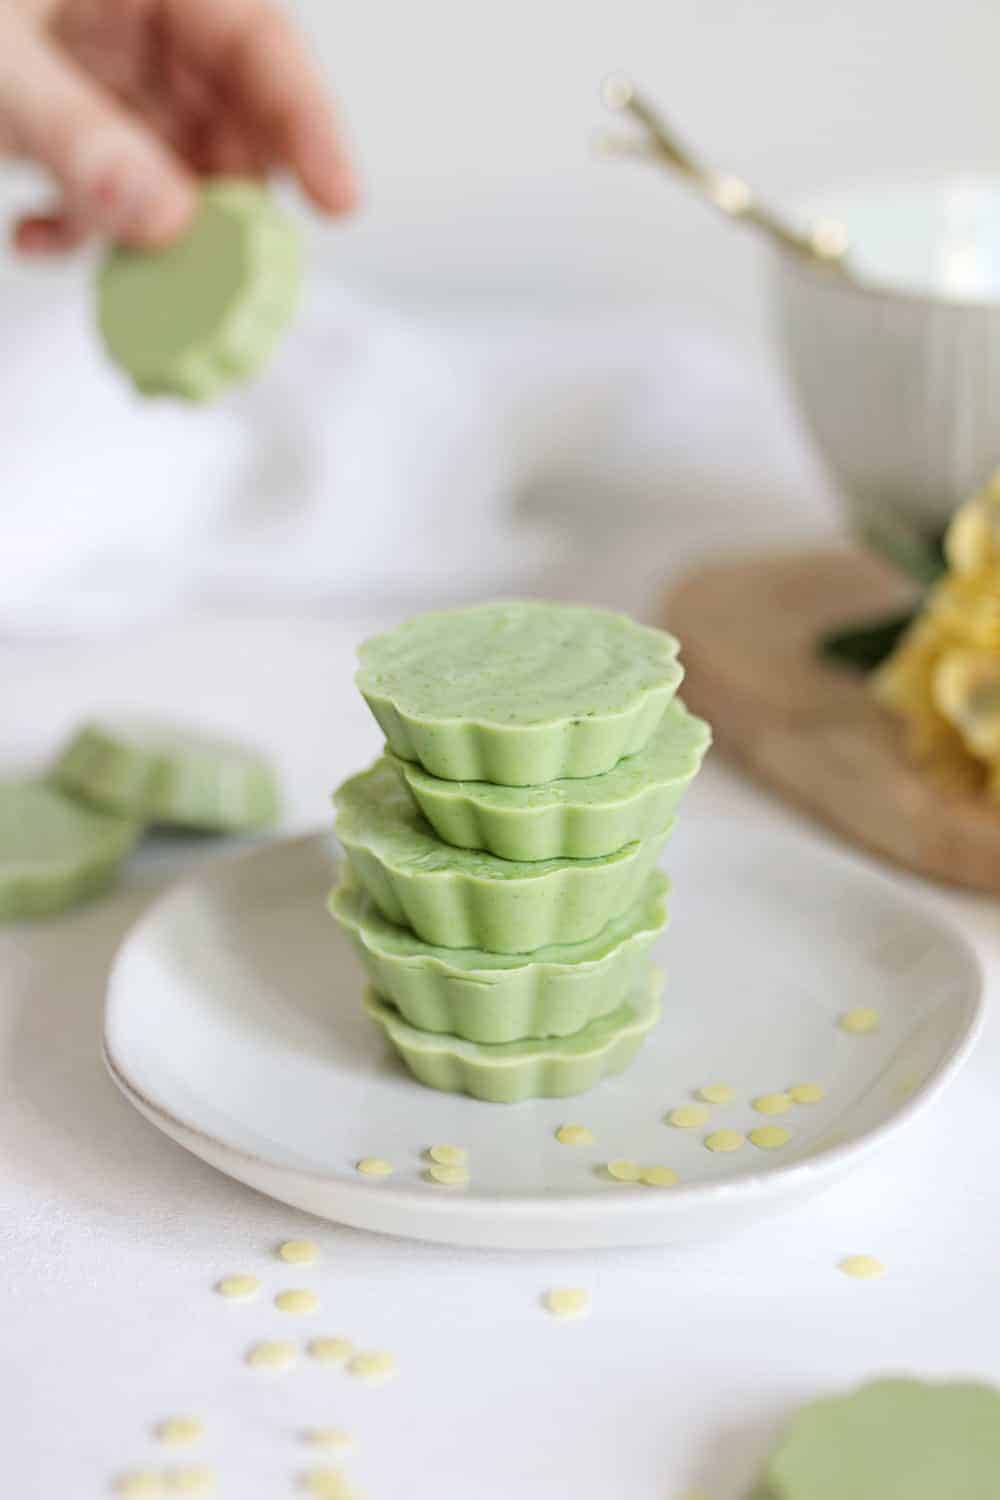
Next time your dry skin needs a little TLC, just drop one of these matcha melts into the tub as it fills with water. The water melts the oils while you wait, so you can climb in and let the nourishing oils and soothing scent of jasmine go to work. Learn how to make bath melts that come together in less than an hour from start to finish.

Does it ever feel like dry, itchy skin is just a fact of life? No matter how much lotion I slather on, I still feel itchy 10 minutes later (and boy, do I burn through a lot of lotion!). So rather than relying on lotions and potions to tame my dry skin, I’m taking extra steps to replenish moisture and polish away flakes.
That’s why bath melts are my go-to when I need a quick soak to soothe any ailment and don’t have the patience to make bath bombs. I always start with this basic cocoa butter recipe, but feel free to customize it with your own colors, scents and herbs.
While you’re making bath melts, you might want to try your hand at these matcha lotion bars too!
Jump to:
Ingredients


Cocoa butter — Cocoa butter, known for its rich, chocolate-like aroma, contains natural antioxidants and is deeply moisturizing; it is solid at room temperature but melts easily on contact with the skin.
Shea butter — Shea butter, renowned for its creamy texture and nutty scent, is highly moisturizing and helps soothe and nourish the skin; it contains vitamins A and E, known for their skin-renewing properties.
Matcha — To make these extra luxurious, I add a tablespoon of matcha powder to the mix. The beauty benefits of green tea are endless, but I love that it packs a one-two punch by exfoliating dry skin and repairing cell damage.
Known for its high antioxidant content, matcha is also loaded with vitamins and minerals so it’s perfect for parched skin. And as if that weren’t enough, matcha contains caffeine so it even gives your skin a little lift while you soak.
See recipe card for quantities.
How To Make Bath Melts
Butters for Bath Melts
You have several options for body butters, see below for recipe options.
1. Shea Butter Bath Melts
- ½ cup shea butter
- 2 tablespoons almond oil
- 10 drops lavender essential oil
- Dried lavender buds (optional)
Instructions:
- Melt the shea butter in a heatproof bowl over a double boiler or in the microwave.
- Stir in the almond oil and lavender essential oil.
- Allow the mixture to cool for a few minutes.
- If desired, place a few dried lavender buds into the bottom of each mold for decoration.
- Pour the melted mixture into molds and refrigerate until solid.
- Once set, remove from the molds and store in a cool place.
2. Mango Butter Bath Melts
Mango butter, extracted from the seeds of mangoes, has a slightly fruity aroma and is rich in fatty acids and vitamins, making it beneficial for dry skin.
- ½ cup mango butter
- 2 tablespoons sweet almond oil
- 10 drops sweet orange essential oil
- 5 drops lemon essential oil
- Zest of one lemon (optional)
Instructions:
- Melt the mango butter in a heatproof bowl over a double boiler or in the microwave.
- Stir in the sweet almond oil, sweet orange essential oil, and lemon essential oil.
- If using, add the lemon zest to the mixture.
- Allow the mixture to cool slightly before pouring into molds.
- Refrigerate until the bath melts are firm.
- Remove from the molds and store in a cool place.
3. Coconut Oil Bath Melts
Coconut oil, a versatile and popular choice, is well-known for its tropical aroma and excellent moisturizing properties; it can be easily absorbed by the skin, leaving it soft and hydrated. Add shea butter or wax to help them hold their shape.
- ½ cup coconut oil
- ¼ cup shea butter
- 10 drops lime essential oil
- Zest of one lime (optional)
Instructions:
- Melt coconut oil and shea butter together in a heatproof bowl using a double boiler.
- Stir in lime essential oil and lime zest (if using).
- Pour the mixture into molds and refrigerate until set.
4. Calming Kokum Butter Bath Melts
Kokum butter, derived from the seeds of the kokum tree, is non-greasy and easily absorbed by the skin; it is known for its ability to rejuvenate damaged skin cells.
- ½ cup kokum butter
- 2 tablespoons apricot kernel oil
- ¼ cup dried chamomile flowers
- 10 drops chamomile essential oil
Instructions:
- Melt mango butter and apricot kernel oil together in a heatproof bowl using a double boiler.
- Stir in dried chamomile flowers and chamomile essential oil.
- Strain the mixture to remove chamomile flowers, then pour into molds and refrigerate until solid.
5. Cupuacu Butter Bath Melts
Cupuacu butter, obtained from the seeds of the Cupuacu tree, has a creamy texture and a light, sweet aroma; it is known for its ability to promote skin elasticity and hydration. Try this cocoa butter and cupuacu butter bath melt recipe.
Scents for DIY Bath Melts


If your skin is extra dry and painful, feel free to add some essential oils to boost the healing benefits. Add roughly 15 drops of essential oil for each ounce of carrier oil and butter. Here are some creative combinations to inspire you:
Citrus Mint Bliss: Blend of peppermint, grapefruit, and a touch of lime for a refreshing and invigorating bath.
Lavender Lemonade: Combine lavender and lemon essential oils for a calming yet uplifting scent reminiscent of a refreshing glass of lavender lemonade.
Rosemary Citrus Breeze: Energizing combination of rosemary, orange, and a touch of lemon for a crisp and herbal aroma.
Vanilla Chai Latte: Warm and soothing mix of vanilla and nutmeg for a comforting chai latte-inspired scent.
Minty Lavender Fusion: Combining the cooling sensation of peppermint with the calming notes of lavender for a unique and balancing aroma.
Earthy Woods and Cedar: A grounding blend of cedarwood, sandalwood, and a touch of pine for an earthy and woodsy fragrance.
Equipment
Making bath melts at home is a simple process, and you don’t need a lot of specialized equipment. Two things you will need:
Heatproof Bowl or Double Boiler: For melting your ingredients. A heatproof bowl over a pot of simmering water can serve as a makeshift double boiler.
Molds: Silicone molds are commonly used for bath melts because they make it easy to pop out the finished product. You can find molds in lots of fun shapes and sizes.
Storing Homemade Bath Melts
Cool, Dry Place: Store your bath melts in a cool, dry place away from direct sunlight. Exposure to heat can cause them to soften or lose their shape.
Airtight Container: Place your bath melts in an airtight container to prevent them from absorbing moisture, which can affect their texture and shelf life.
Avoid Extreme Temperatures: Do not store bath melts in places with extreme temperatures, such as near heaters or in the bathroom where they may be exposed to steam.
While homemade bath melts can have a decent shelf life, it’s best to use them within 3-6 months to ensure freshness and optimal performance.
How To Use Bath Melts
Add to Warm Bathwater: Drop one or more bath melts into warm bathwater. The melts will gradually dissolve, releasing their nourishing oils and scents.
Be Cautious with Slippery Surfaces: Bath melts contain oils, which can make the tub slippery. Take care when getting in and out of the bath to avoid accidents.
Rinse Tub After Use: After your bath, rinse the tub or scrub using baking soda to remove any residual oil. This helps prevent slips and ensures that the oils do not build up over time.
Pat Dry After Bath: When you’re done with your bath, pat your skin dry with a towel rather than rubbing to help retain the moisturizing benefits of the oils.
FAQ
Yes, you can use fragrance oils for scenting your bath melts. However, be cautious about potential skin sensitivities, and choose high-quality, skin-safe fragrance oils.
If your bath melts feel too greasy, you can adjust the recipe by reducing the amount of oil or butter used. Additionally, patting your skin dry after the bath instead of rubbing can help minimize the greasy feeling.
Yes, you can use natural colorants like beetroot powder, turmeric, or spirulina to add color to your bath melts. Start with a small amount to achieve the desired hue.
Opt for gentle oils and butters like shea butter and almond oil. Avoid using strong essential oils and perform a patch test to ensure the ingredients won’t cause irritation.
Absolutely! While essential oils add fragrance and therapeutic benefits, you can make unscented bath melts or use other skin-friendly options like vanilla extract or infused oils for a subtle aroma.
Want More Matcha Ideas?
Try one of these DIY recipes while you’re making bath melts or even a matcha latte!
—Matcha Lotion Bars
—Green Tea Hair Rinse + Mask Recipes
—15 Green Tea Face Mask Recipes
—6 DIY Green Tea Toner Recipes
Jasmine Matcha Homemade Bath Melt Recipe
These luxurious DIY matcha bath melts are made with skin soothing oils, so they’re the perfect remedy for dry winter skin.
Yield: 6 bath melts
Cost: $8
Equipment
-
Microwave safe bowl
-
Silicone soap molds
Instructions
-
Combine butters and wax in a double boiler (or a heat-safe bowl) and melt over low heat. You can also melt in the microwave in short burts, stirring in between.
-
Remove from heat and stir in honey, matcha ,and essential oil.
-
Pour into silicone molds or muffin tins and let cool completely.
-
Once the mixture has solidified, remove them from the mold and store in an airtight container.
-
To use, simply pop one (or break in half if one is too much) in the tub while it fills with water. The oils will melt and nourish your skin while you soak.


:max_bytes(150000):strip_icc()/novemberfashionlaunchessocial-c6ff8e43ea18497096d890cddec20539.png?w=1300&resize=1300,800&ssl=1)


:max_bytes(150000):strip_icc()/VelvetFallNailSocial-a938c6ba10bd4f2f8b96af7a3148afbe.png?w=1300&resize=1300,800&ssl=1)


